Sunday, April 24, 2016

Steak wrap

We had some extra steak and I really was not sure what to do with it. So I decided what ever I did I needed to cut it up. So I started there, I cut the steak nice and thin. From there I just kinda went with it. I have been reading a lot about sauces and so I knew I wanted to try out a new balsamic dressing. So I thought what goes with steak and balsamic. With that I put together this steak wrap. Steak is one of those meats you really don't want in-between two slices of bread. At least I don't I have never been fond of a hot sandwich.
As you can see I sliced the steak thin. Then I decided it was to large to eat without a fork and knife. I decided to Julianne it. This is just the French way of saying I cut it into strips. I figured this way I could eat it in one bite or with out a fork. Once you have your protein ready then decide what you love eating with that protein. If you use chicken maybe add asparagus. If you don't eat meat and want to use tofu well anything pairs with that.


After  thinking about what I would want to eat in a wrap. I came up with carrots and apples. This may sound odd to have apples in a wrap. In the past months I have come to love apples and balsamic. Since I wanted to have color I added carrots peeled. The apple gave the wrap a nice crunch as well.


In the end the wrap was pretty good. Everything blended really well together. When it came to the balsamic it is just a simple olive oil and balsamic vinegar. All in all it worked out well and turned into a fresh way to eat a sandwich. Plus we all eat a ton of carbs so cutting them out of one meal won't kill us. I know its crazy talk but someone had to say it sooner or later. Until next time do something amazing with the food you love.

Sunday, April 10, 2016

Madeline

I made Madeline's this week, these little cookies are SO freaking good. I don't think I have ever had a bad madeline. They are usually lemon flavor or half dipped in chocolate. I myself just kept it simple and made a yellow madeline. A lot of people wonder if these are cookies or cakes.
To clear this up let me tell you, madeline are indeed both, cake and cookie. These first were seen in France and the base is made from an almost sponge cake batter. Which makes it a cake. It is then put into shell like tin to give it, its nice shape. The tins hold around eight madeline each depending on the size you want. The size alone is what I think makes it a cookie. Plus you don't frost madeline's.


The first thing you want to do is make sure that you whisk your eggs enough. No matter your recipe you want fluffy eggs. This will give the madeline's their light fluffy texture. Once the eggs are nice and light add the rest of the ingredients. In the end your batter should be a little thick. Just like sponge cake. For those of my cooks out there batters are all different consistency. You want the madeline's to be a cake batter thickness. Not a pancake consistency. What you don't want is a cookie consistency. Also like most baking you need to chill this batter before you start cooking it. My recipe said to chill for six hours. I did it for one hour and it was fine. I think that as long as its cold it should be fine.


So make sure you have sprayed down the tin really well. Then spoon in the batter making sure you don't fill it all the way. Since the batter will expand and will fill in the rest of the tin. These will take only a few minutes to cook so don't walk away from them.


As you can see in the left picture the madeline's are flat. That means they are not ready. As you can see on the right the madeline's have a nice dome on the top. This means they are done. Once they are done you should be able to just flip the tin over and they will fall out. Unless you have half a dozen tins you will need to repeat the spray down, fill, and bake process. This will happen until you run out of batter. I have the large tins and the batter made about thirty. With the small tins I would say it would make double the amount. Make sure you don't double stack them or they will stick together. Then you can add a little powder sugar on top. These little cookie like cakes will be the hit of any gathering.

Saturday, April 2, 2016

Kitchen Gadget

This week I was looking in my kitchen cupboards and trying to figure out what I should make. I realized I have a lot of kitchen gadgets. Not mixers and such but odd trinkets. Have you ever seen those trinkets that say, "as seen on t.v."? Well over the years I have collected my fair share either as gifts or I thought they might work. Well I was looking at all of them thinking, I had never tried any of them. Well a few months ago my aunt let me borrow one of those very same gadgets she had bought but never used. Thinking that maybe I would use it. So I have decided to try this gadget.

What I received was a "bread maker" it is more of a bread holder. What the instructions say is to take bread dough and put it in the tin. Then seal it and bake it vertically. Supposedly the bread will bake into what ever shape the tin is. Well I have decided to test it out. Lets see if it not only works but is worth the hassle.


So I have made the bread. I let it rise for about two hours. As you can see it has doubled in size. When you let bread sit to rise make sure to cover it with either a light towel or cling wrap. This will help in the rising process. Then I did what the instruction said.

 I split the dough in half. I decided to see not only if the tin works but if the dough was not in the tin if it would be good bread in general. So as you can see I did half and half. Spray the tin nice and good so nothing gets stuck and I went for it. I'm surprised to say it kind of worked. When ever I see things like this I think they can't possibly work but this one did.

 As you can see both breads look pretty good. The one in the tin did not brown as the other one did. It also did not rise enough to hit the other side so the last piece will be rounded on the end. But that could change if I had added more dough to the tin. I think with a little practice it would work. This little tin came from pampered chef. It has other shapes as well. I'm not sure what other than decorative looking it can do to decorate the dinner table. Though if you have little children it might be fun for sandwiches.

As for next week maybe you have a kitchen gadget in your cupboard. Why not trying to see what you can do with it?

Sunday, March 27, 2016

Carrots are not just for bunny's

This weekend was Easter. As everyone knows that means a lot of food shaped like bunnies. I decided instead of making something sweet into a bunny I would make the same thing bunny's eat, Carrots silly. I happened across a show called Movable Feast With Fine Cooking. The host mentions in one episode this carrot side dish he does with fresh honey. Well I decided to get the ingredients he mentioned and try my hand at his recipe. Guess what it is delicious. 
Before I start with what I did let me tell you I used a orange carrot. Are you thinking, orange carrot their are other colors of carrots? The answer is yes, the other colors are getting more popular so maybe you have seen them in your local shop. They come in colors as diverse as purple, black, red, white, and yellow. Every color comes with its own taste though similar not exactly the same. You often see these colors in batches of a mixed variety. Though orange is the most common it definitely was not the first color, white was the first color. Over centuries and cross breeding, cultivation and I'm sure a few other steps the orange carrot came into productivity. Okay enough about carrots, if this has intrigued you enough you can google more about it. I find it fascinating, maybe you not so much. Onto the recipe. 

I cut up a dozen carrots into the size of a pinky finger. You always want to make what your cooking roughly the same size. This will help everything cook through at the same time. Since carrots are hard this is essential. Once they are all cut I put it in a casserole dish with some butter and roasted them until they are nice and tender. While this is happening you can start the sauce. 

I have spoken about browning butter before. Start with some butter on low heat until it is nice and brown. If you are not sure when the right shade of brown is correct then use your other senses. Smell the pot, about one or two inches above your pot take your hand and waft the air. If you are not sure what this means put your hand palm facing you at the back of the pot. Then push the air toward you making the air go toward your nose. This sounds weird but if you just put your nose into the pot you won't get the full smell plus you might hurt yourself. Wafting the scent is the best way to get the best smell. Browned butter should have a light brown color and a nice nutty scent. About one more minute after your butter looks like this. 

Once this is done add the other ingredients. A little paprika, a pinch of chili flakes, a handful of roasted and then smashed almonds. Or almond pieces. Then the best ingredient of them all, a honey balsamic vinegar with a touch of acid. This vinegar is all up to you. If you want to go looking for one already made up that works. I can never make a small amount of dressing so of course I always have some left over but thats okay since it lasts and can be used for other things. I made mine by itself, with 50% honey and then 25% balsamic vinegar, and 25% fresh orange juice. Roughly two to three oranges. I only used maybe 1/8th cup of the vinaigrette. See what I mean though it would be to hard to mix something of that small of a quantity for me. I tend to make way to much of everything. 

Once the carrots are roasted nice and soft then pull them out. Add the sauce over the top. You don't want to make the sauce to far in advance or the balsamic will emulsify separate from the butter. If you are not sure how long the carrots will take I would just get all the ingredients ready and then combine them once the carrots are ready. It doesn't take long for butter to brown then just mix in all the rest. 

This is a great side dish for any meal. Plus it puts a twist on the every day steamed carrots. As for next week who knows what my kitchen will turn out. Hope you find a few dishes you can enjoy over and over again.


Saturday, March 19, 2016

Pie Festival

Over the last few months I have been practicing my pie. I entered Claremont's pie festival contest that was hosted this weekend. I found a pie I liked and then practiced and practiced. This morning I dropped off my pie and waited to see what happened.


This is my pie crust. When it comes to pie crust there are a few things you should always make sure of. One, you should not over work your dough. Two you should love your crust just as much as your filling. I made an orange pie for my entry. The first thing you should know about oranges is they are filled with amazing juices. Okay everyone knows that oranges have juices but does everyone know how to capture them into a pie?


What comes to mind when you make a fruit pie? It is all liquid because of the fruits natural juices making the pie soggy. So how do you fix this, you ask? I was about to keep all the juices in the orange by poaching them first. By poaching the orange it keeps all the juice inside while it is baking. Know this is not true for all fruit but when it comes to oranges or pears this works really well. To poach the fruit just put it on low heat in a pan of sugar water. Make sure your fruit is fully covered so the whole fruit gets poached.

Once I had the oranges poached and the filling all ready to go I put my pie in the oven. Since this pie does not have a top crust I wanted to make sure that the fruit was arranged nice and pretty. There are two types of pies. One with crust on top and the bottom, the other with just crust on the bottom. Something that I learned when baking this pie is that the tin helps. When you bake in a glass tin you are able to see if the crust is baked all the way through. The downfall of not having a glass tin is you have to be confident in yourself that your pie is fully baked. Have you ever gotten a piece of pie and the bottom crust is raw, it is so sad. After I took the pie out I added some apricot glaze and toasted almonds.


Okay after a few hours of walking around the Claremont shops with my mom the judging had commenced. It was time to announce the winners of the contest. This was the first time I had ever entered any contest before. Even though I knew there would be a lot of great pies I did hope I won something. Well after all the waiting I can say I was not disappointed. I won second place for my division. I was so excited, not only was it my first time entering, I won. I can honestly say even with all the nervousness I get from not knowing what will happen it was definitely worth it.

Me and the owner of I Like Pie


For all you bakers, cooks, learners and anyone else. I say go for it. Find local things near you and enter to see how you do. Even if you don't win, even if you have never made the item before, go for it. It is so fun and if all else fails you get random people to eat your food. No doubting if your spouse is just being nice. Maybe that is just me, that doesn't always trust my ability. Until next week try something new and broaden your boundaries.


Sunday, March 13, 2016

Pink is for pear, prickly pear

This week has been so long. Have you ever had one of those weeks where you never know when its going to end? That was my week this week. But that is not why you read this blog so I will leave it at that.

At work my boss picks one item to showcase every month. He tries to find something that we have never used so we can really learn new skills. This month it was prickly pear. We are supposed to make new foods and try incorporating it into different recipes. Today I decided to make cupcakes. I know I have said I hate cupcakes which I do but I am pushing my boundaries in all areas.

Side note Prickly pears remind me of the jungle book. Every time I cook with it I hum the bear necessities. Have you ever made something that reminds you of something completely different. I love finding connections between my past and my present. This item did that for me.
 I started with a batch of coffee cupcakes. I know, I know coffee in a cupcake sounds gross. I have never worked with coffee before. Since I don't drink it, its hard for me to know if things taste correctly. Shocked that I don't drink coffee? Its a life choice, mostly because I think it is one of the nastiest things I have ever tried, and I have tried some pretty nasty things. (Like frog ovaries when I was in china or squid eyes when I was in El Salvador, that one was a dare but still, eww) I have seen in a lot of recipes that they add coffee to make it more flavorful so I decided to give it a try. Plus its a bonus that my husband is addicted to coffee so lets pretend I made them just for him. "Cupcake sweetie, I made your favorite coffee flavored, just for you."
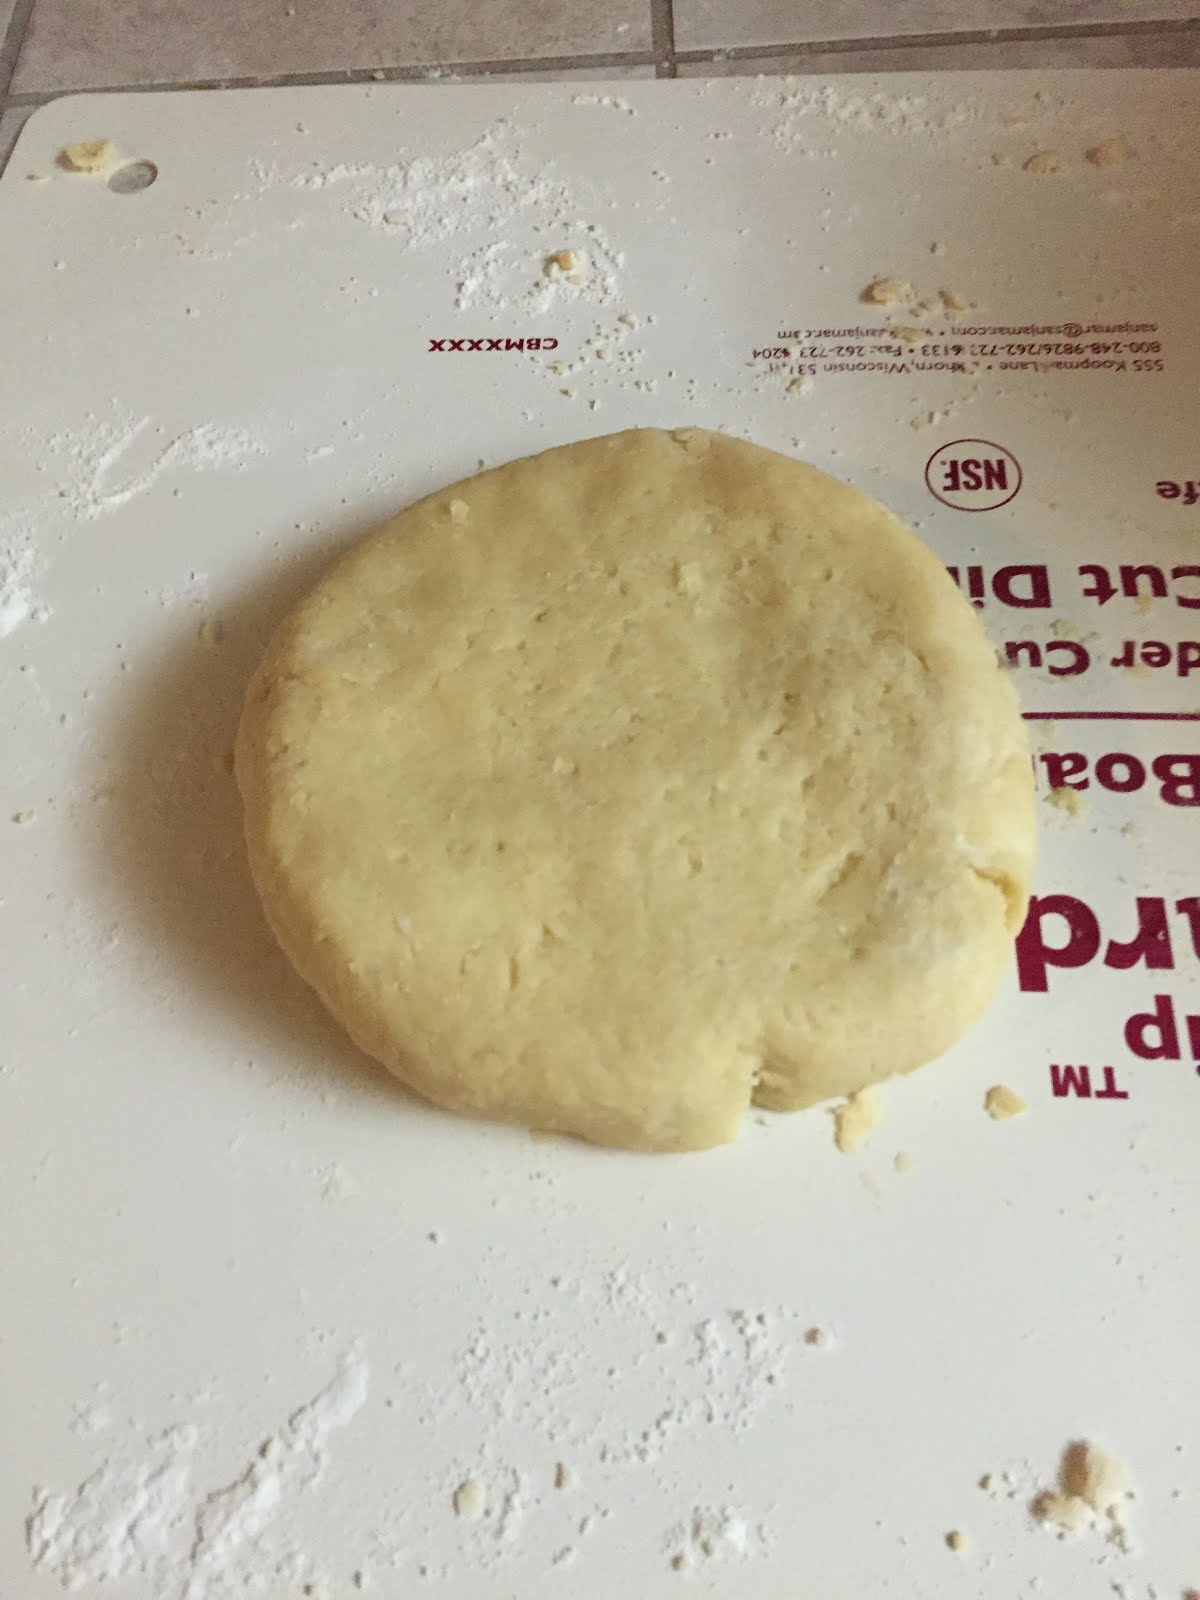
Back to the prickly pear, most people have not worked with prickly pear so I took a few extra photos. A prickly pear also known as cactus are actually very good for you. These little guys grow off the paddles of the cactus. Which you can also eat the paddle or turn it into aloe vera. The prickly pear I have here came with the needles removed. If you get one with the needles make sure you wear gloves. You don't want to prick yourself, from what I know I would guess they are not sold with needles on them. As you can see I have peeled the pear and rough diced it. This is four pears diced which seems like a lot. These little guys have small seeds that are edible but pretty hard. So I decided to juice it. Once you take the skin off all the flesh inside is edible.
 As you can see from this picture I have juiced the diced pear. I don't have a blender so I had to juice it by straining it in a sifter. In the last month I have come to discover why so many people own a blender. I tend to come across the need of one more and more. After juicing the diced pear I had nice prickle pear juice. Four pears only produced 1/2 cup of juice. I am sure it would give more if you use a blender but for what I needed a 1/2 a cup was plenty. Plus if you wanted to eat the actual fruit after you can.

 I decided to make cream cheese frosting while my cupcakes were cooling. Every cupcake needs good old cream cheese frosting on top. Instead of using heavy cream I used the prickly pear juice. That is what gave the frosting its amazing color. I can call these little guys, "no coloring needed". Maybe not. A lot of things can be replaced with other foods to either make something healthier. Like applesauce for eggs or make something vegan, like avocado for butter. I'm not sure if this works with everything but I would assume if the consistency is the same you could substitute one item with another. Once you decide what you want to substitute you have to have an open mind about the end product. Some things may turn out a little different than how they normally would. Because I substituted prickly pear juice instead of heavy cream the cream is thicker than the juice. This means I had to add more powdered sugar to thicken it up.

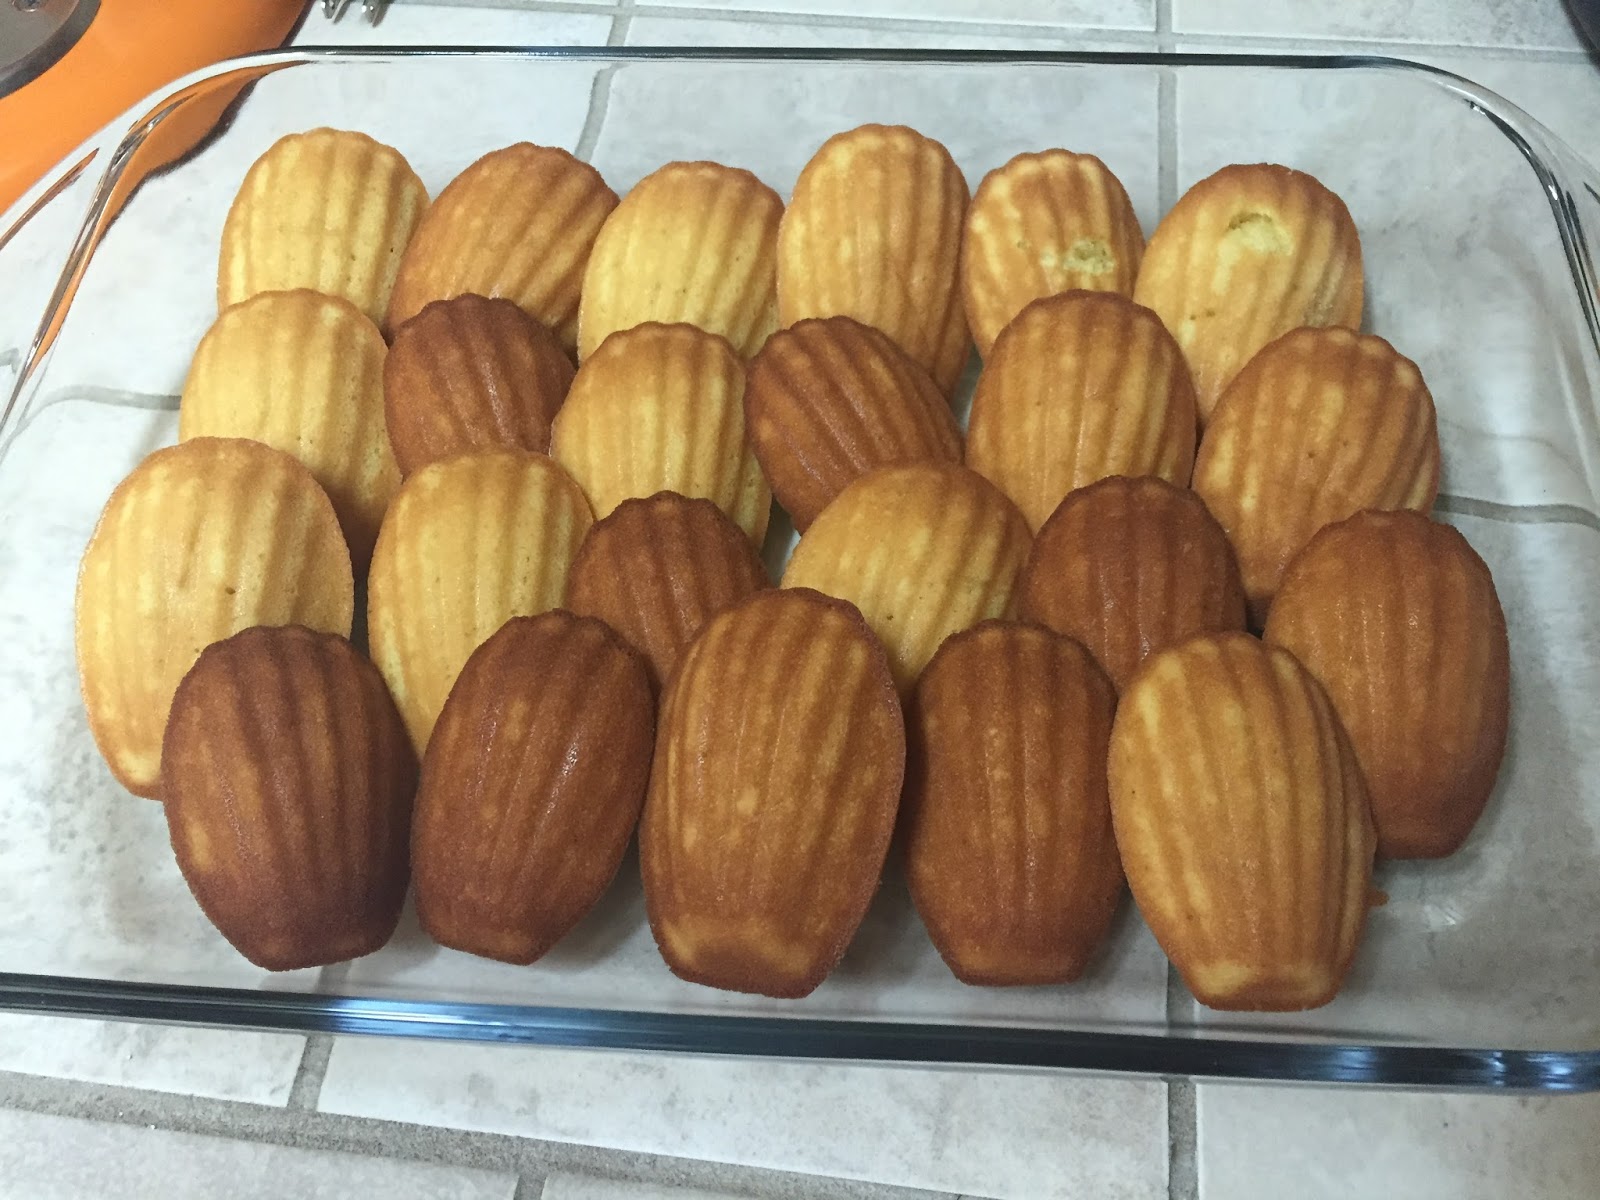
 In the end once I let the frosting chill I was able to frost the cupcakes. As you can see my husband snagged one before I could take a picture. There once were twelve cupcakes. Thats okay though because eleven is enough for sharing.

I enjoyed working with this prickly pear. It is very versatile product. I think I might take the extra frosting and make something else. Maybe this week while you're at the grocery store you will find something you have never worked with. Why not buy it and see what you can do? Who knows maybe you will find your new favorite food.

Saturday, March 5, 2016

A Family affair

This weekend I spent time at my aunt and uncles house. We had a sort of in prompt to slumber party. They were nice enough to let me cook them lunch the next day. I'm going to give you a glimpse into my families life. Have you ever watched a movie and the main character is on the side walk and they are looking into a strangers window and the family is sitting around the dinner table laughing and everyone assumes they are happy? Well your the main character and as you sit at the computer you get to look into the window of my family.

Friday night we all went out to eat dinner, nine in all. Did I mention I have a big family. So on Saturday we all got up and I made pancakes. This is not about that meal this is about lunch. Have you ever eaten out and it was so good you take home the left overs but the next day your just not into it? You don't want to waste the food but you don't really want to eat them. One of the things I'm decent at is reinvention. Taking left overs and making them new. So that is what I did. I made leftovers into something new.

Empanadas! I should mention we had Mexican food last night. After I had the empanada dough mixed and rising I got the left overs out to make the filling.  I cut up the veggies and the chicken into nice small dices. Then I found a can of black beans and strained it real good. Tip you want to strain the beans really good to get all the can liquid out since it taste gross. I'm sure there are other reasons why you want to rinse things from a can that is more scientific than "gross" but this is my take on the matter.

Once the middle is ready and all heated up the dough should have been doubled. Once that happens you need to separate the dough into eight balls. This number could change depending on the size and the recipe. Then roll them out one at a time. Let me tell you pinching edges is not my thing. If it's not an empanada its a pie or pretty much anything with a top and a bottom crust. I just can't do, I try and by the last empanada the edge work looked okay. Not amazing but its something I have to work on. If you cant tell from the picture above every edge looks different. A trick I learned was to sit the empanada up and then pinch the edges. When it is sitting on the counter it was so much harder to get a good edge. If it is sitting up you can work it from both sides.

After you have all the empanadas stuffed and finished you put them in the oven. Every oven is different so just cook them until they are golden brown. Once I pulled them out we added avocado and ate until we were full. Well that was a glimpse into my family. So next time you are at home and all you have is leftovers know you don't have to eat leftovers. It is really easy to make something new by adding a little something from your kitchen.